
Radio Station Website on WordPress (Step-by-Step)
learn now how to build a radio station website on WordPress without plugin chaos. Install the demo, add your stream, publish Listen/Schedule/Shows, and launch fast.
Radio station websites are different from regular websites. You don’t just publish pages: you usually need a stable radio player, live metadata, shows, a weekly schedule, and often podcasts, events, news, and multimedia layouts.
If you build this with random plugins, you typically end up with plugin conflicts, compatibility issues, and higher costs (many plugins, many renewals, many updates).
Pro Radio solves exactly this problem. It was born from real radio station workflows and evolved over time to include the features a radio website needs. You may not need everything on day zero, but as your station grows, new needs appear, and the key advantage is: you don’t have to rebuild your website or re-architect your stack. The features are already there.
Start here (fast launch checklist)
- 1-click install the demo you like and customize it (do not rebuild from scratch)
- Replace the demo stream URL in the default Radio Channel
- Publish 4 core pages: Listen, Schedule, Shows, Contact
- Create your first shows and a simple weekly schedule
- Test playback on mobile before promoting the website
Start here: How to Start a Radio Station (Online + FM)
What you need
- WordPress hosting and a domain
- Pro Radio theme installed (demo included)
- Stream URL from your streaming provider
- A minimal plan for shows and schedule
Step-by-step: build the website the right way
1) Install Pro Radio (plugins are 1 click)
Pro Radio handles the required plugins installation automatically. Install the theme, then complete the one-click plugins setup.
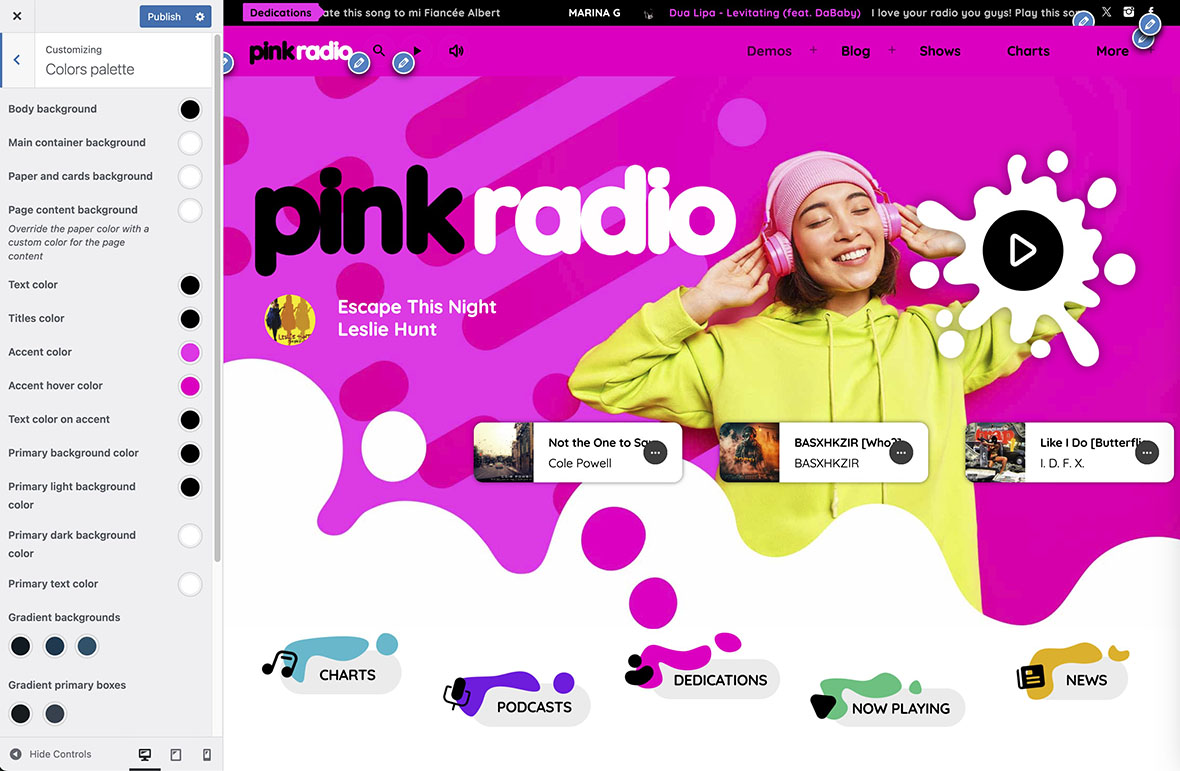
2) Start from the prebuilt demo site (don’t rebuild)
The fastest and safest path is to start from the demo structure and adjust it progressively:
- Replace logo, colors, typography, images
- Update your navigation to highlight Listen, Schedule, Shows
- Keep layouts simple at first, then refine once the station is live
3) Set the correct page template for Elementor
For maximum compatibility (especially for customers coming from OnAir2), set Elementor pages to the template named Page Visual Composer.
4) Minimal streaming setup: edit the default Radio Channel
Radio Channels are their own post type. You don’t need to create everything from scratch.
- Open the default demo Radio Channel
- Replace the demo stream URL with your real stream URL
- Save, then test playback on desktop and mobile
5) Create the core pages (the structure that makes a radio website work)
Even if you plan to add features later, launch with a clear structure:
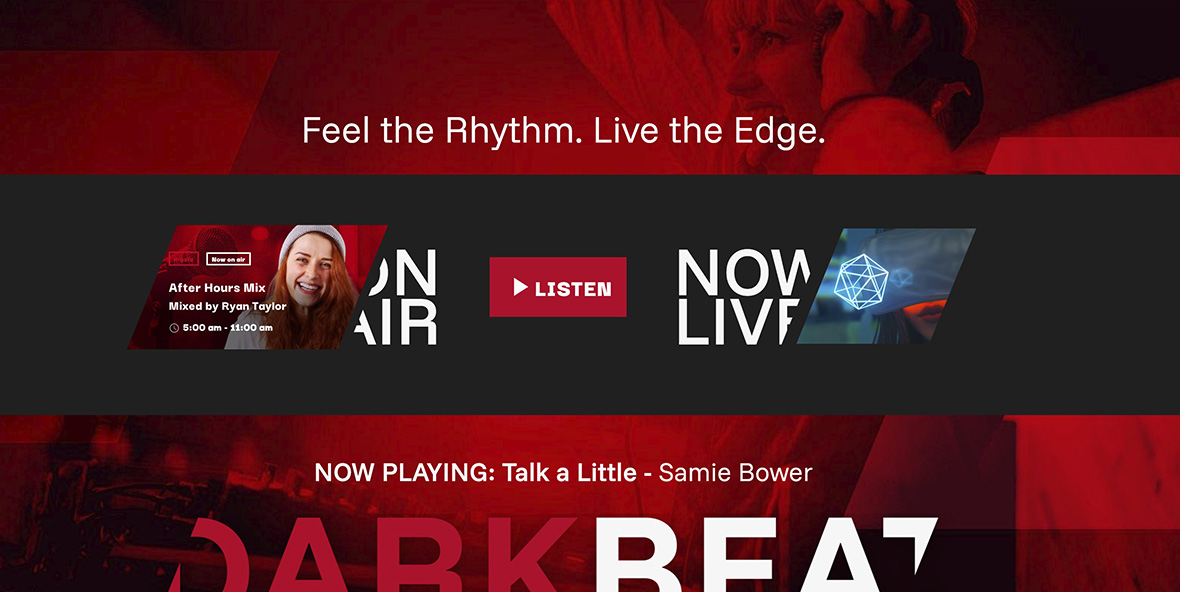
- Listen: the player + your station identity + a clear call to action
- Schedule: weekly schedule page that tells users what’s on and when
- Shows: one page per show (hosts, description, featured episodes)
- Contact: clear contacts, social links, business email
6) Create shows and connect them to the schedule
Shows are the heart of retention. A schedule without show pages is just a grid.
- Create your first 3–8 shows (you can add more later)
- Assign each show into a daily slot
- Ensure every slot has the right start-end time and a radio show assigned
7) Podcasts (optional): add only if you can publish consistently
If you already have a podcast hosted elsewhere, import via RSS. It’s cleaner and lighter than uploading audio to your WordPress server.
- Add your Podcast RSS feed source
- Run a small test import (few episodes)
- Verify artwork and metadata, then enable automated updates
What to publish first (so the website looks alive)
- Home page with a clear “Listen live” area
- Schedule with at least 1 week populated
- 3–8 show pages (even short descriptions are fine)
- One news post or one featured show episode per week
Common mistakes (avoid these)
- Building with tons of extra plugins to “compose” a radio website: conflicts and maintenance problems grow over time. Pro Radio plugins are built to work perfectly together.
- Launching with no schedule: listeners don’t know when to come back.
- Schedule without show pages: no depth, no shareable content, weak SEO.
- Not testing on mobile: iOS Safari behavior is different from desktop browsers. Our demos are all tested on real Apple and Android devices.
- Over-designing before launch: you lose weeks without gaining listeners. Don’t be afraid of doing it wrong. Just start!
Troubleshooting quick fixes
The player works on desktop but not on mobile
- Mobile browsers often require user interaction to start playback.
- Test on iOS Safari and Android Chrome before promoting the website.
- Prefer provider-recommended public endpoints for web players.
- Ensure your stream is HTTPS: mobile usually block http radios. You may want to check this with your streaming provider.
Playback fails on HTTPS websites
- If your site is HTTPS and the stream is HTTP, you can hit mixed content issues.
- Ask your streaming provider for an HTTPS-compatible endpoint.
Pro Radio documentation references
- Pro Radio Knowledge Base
- Theme installation
- Elementor pages (Pro.Radio Elementor plugin)
- Creating a page with Elementor
- Radio Channels documentation
- Radio shows and schedule (overview)
- Schedule setup
- Display schedule with Elementor
- Podcasts (overview)
- Add a new podcast RSS feed source
- Podcast Importer settings
Related guides
- How to Start a Radio Station (Online + FM) Step-by-Step
- Add a Radio Stream to WordPress (Shoutcast/Icecast)
- How to Start an Online Radio Station (Fast Setup)
- Import Podcast RSS Into WordPress (Clean Import)
- WordPress Radio Player (What to Look For)
- Add a Radio Schedule to Your Website (Best Practice)
- Radio Website Launch Checklist (Before You Go Live)
FAQ
Do I need all features on day one?
No. Start with the essentials (player, schedule, shows). Add podcasts, events, ads, and advanced features later when your workflow is stable.
Is it better to rebuild the demo or customize it?
Customize it. The demo structure is designed to work as a radio website. Rebuilding from scratch usually wastes time and increases mistakes.
Should I upload audio to WordPress?
Usually no. Keep audio on a podcast host and import via RSS, especially if you publish many episodes. Radio stream is usally managed on your chosen external streaming platform (like Shoutcast, Icecast, Radio.co, Radioking etc.)
Copyright 2019-2026 ProRadio® Qantum Themes SL® ESB02979078 All Rights Reserved