Add beautiful Pricing tables with Elementor. The widget will output a column for a pricing table including features, price and button.
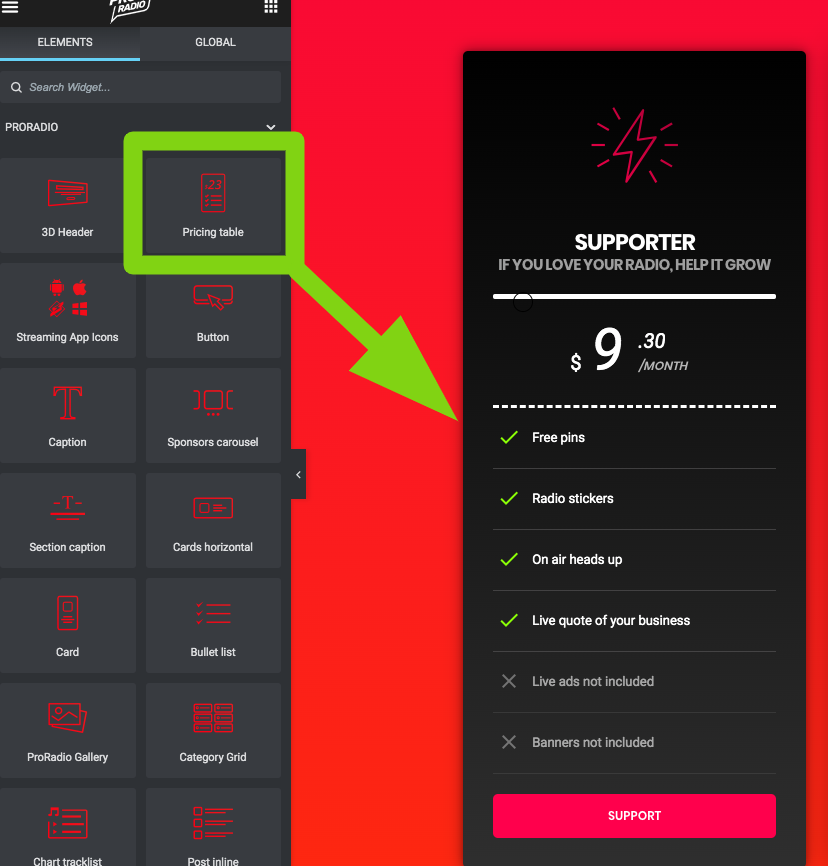
To add a multi-column pricing table, you can divide the Elementor section in columns and add the pricing table multiple times.

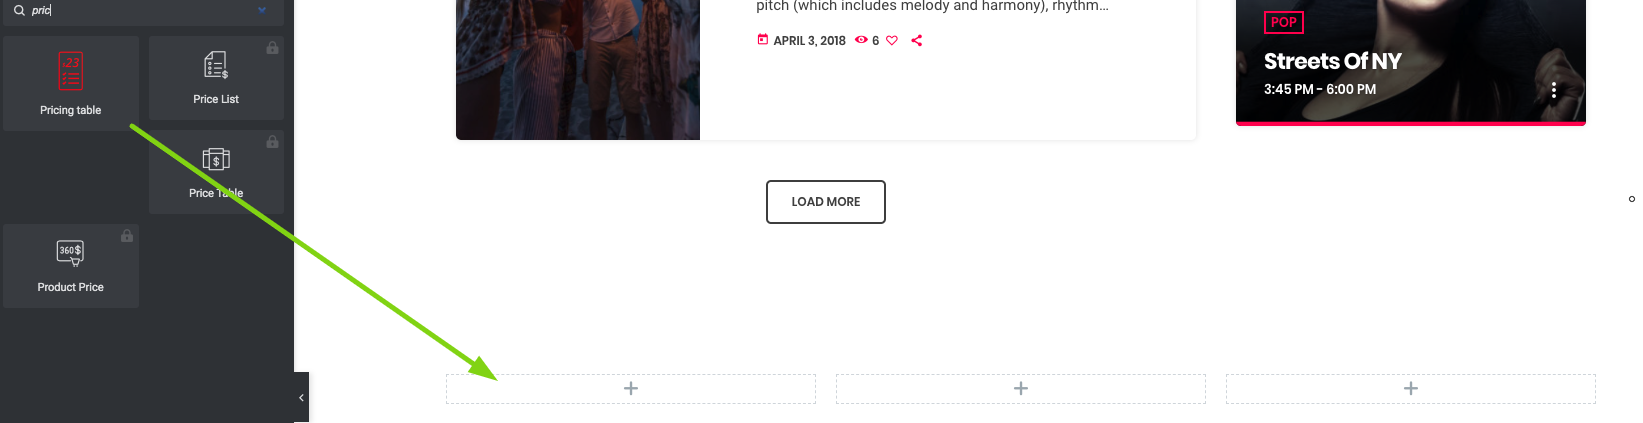
 Once added to the page, you can set the pricing table contents and styling.
There are 4 panels:
- General settings
- Price settings
- Items
- Button
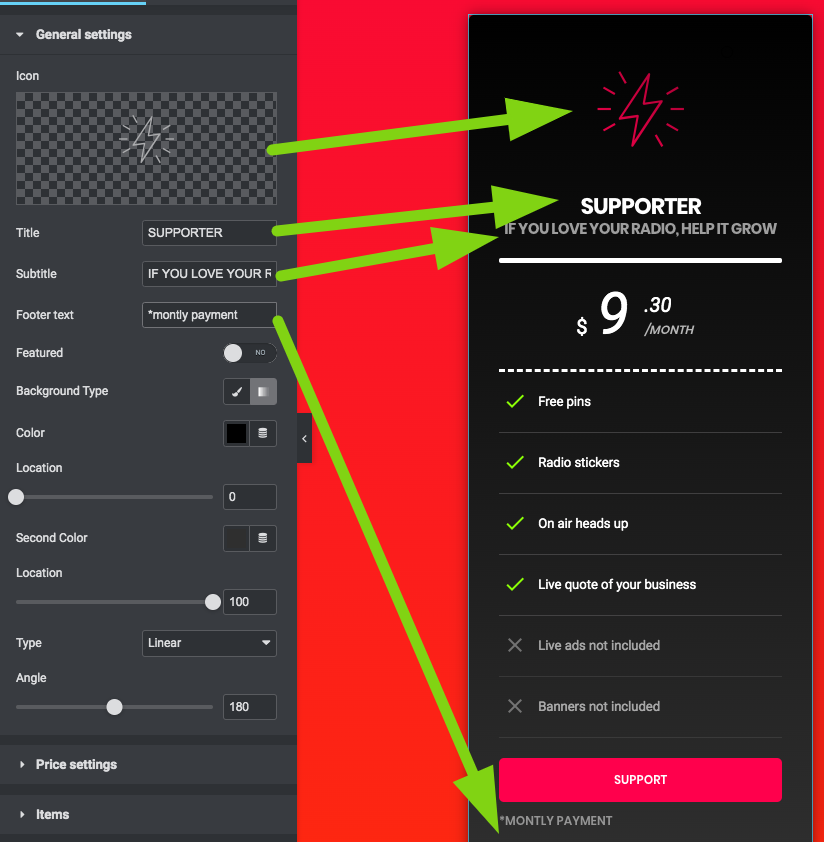
General settings
Icon: you can use the default icons provided with the Elementor builder or enable custom icons set from the premium plugin bundled with the theme called Icons2Go.
The Icons2Go full documentation can be downloaded here
To enable custom icon sets visit Settings > Icons2Go.
Price settings
- Price: is the larger number.
- Cents: can be used for a smaller number.
- Coin symbol: is he text for your own coin, like $ or €.
- Details: is an optional string that goes to the right of the price.
Items
This is a repeatable field, where you can add a new item using the button "Add Item".
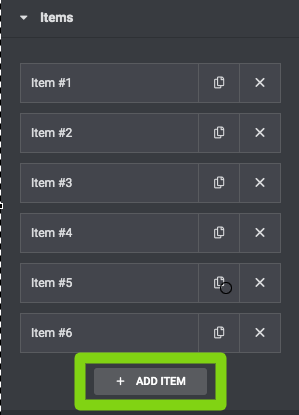
Once you add an item click on its title to modify the content.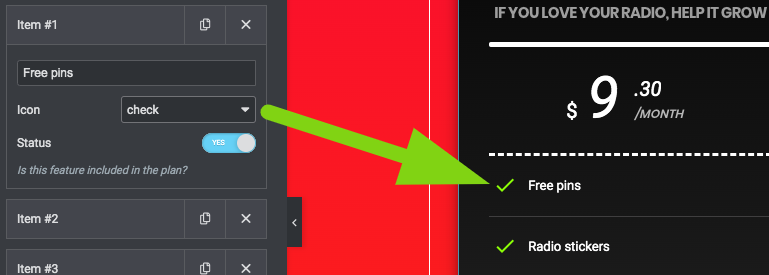 1. Add the text of the item
2. Set an icon from the dropdown
3. Set the status (yes, no) this will change the color of the icon
Button
The button uses the default styling from the global Appearance settings of the WordPress customizer (see the Customizations settings for more details).
Button label: the text of the button
Button link: the URL to be opened. To link to another section, use #secitonname, where "sectionname" is the ID given to that section.
Button target: choose if you want the link to open in a new tab or in the current one.


