The "Post or pages grid" widget of Elementor is added by the Pro.Radio Elementor plugin and is useful to display blog posts or other custom post types in a "vertical" template. The design can change depending on the chosen post type.
This item can be adapted to any column width, using the appropriate parameters.
How to add a "Post or pages grid" widget
Step 1: Edit your page with Elementor
Step 2: search "grid" in the widgets

Step 3: Drag in your page the "Post or pages grid" element.
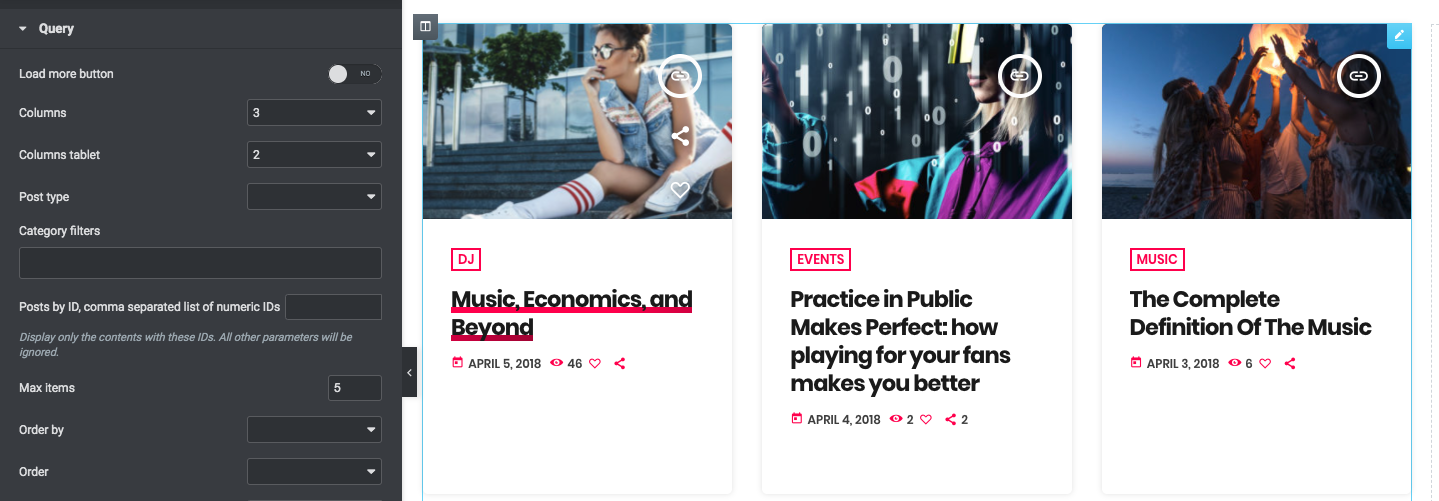
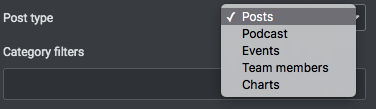
You can set a custom post type using the Post Type dropdown. This parameter is limited to the post types added by the theme (you can't use other post types added by third party plugins).
Step 4: Category filters - filter the results by the custom taxonomy associated with your chosen post type (more info are available in the documentation of each post type).

Step 5: Load more button - display a button below the content to load more posts. This appears only if the total amount of items is more than the max items. If there is nothing else to show, the button is hidden.
Step 6: Columns - choose the correct amount of "items per row" for the "large screen" resolution. You can set a separate value for the tablet, while it is always 1 for mobile.
Step 7: Posts by ID - set a list of IDS separated by a comma. If used, any other parameter will be ignored. Example:
128,234,934
Step 8: "Order by" - Read more in the paragraph "Ordering Widget Results" within the page "4.2 - Elementor pages".
Step 9: "Exclude" - you can remove from the output certain items by adding their IDs in this field, comma-separated like this:
128,234,934


