How to display a dedications form in a page:
STEP 1: Create or edit a page using Elementor
Edit the page using the Elementor
STEP 2: Add the form
In the widgets list search for "dedications" and drag "dedications form" in the page content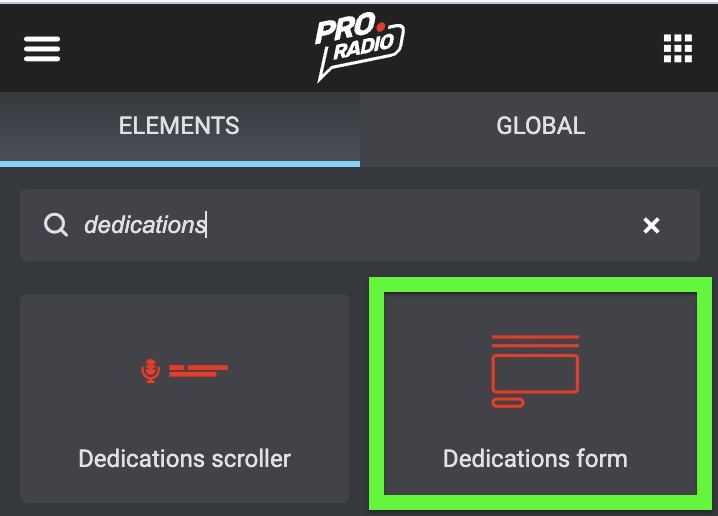
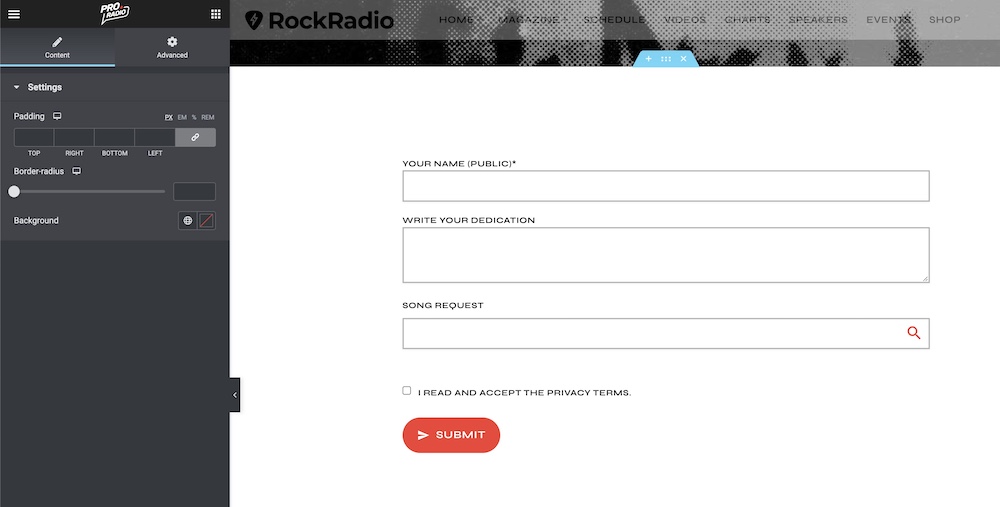
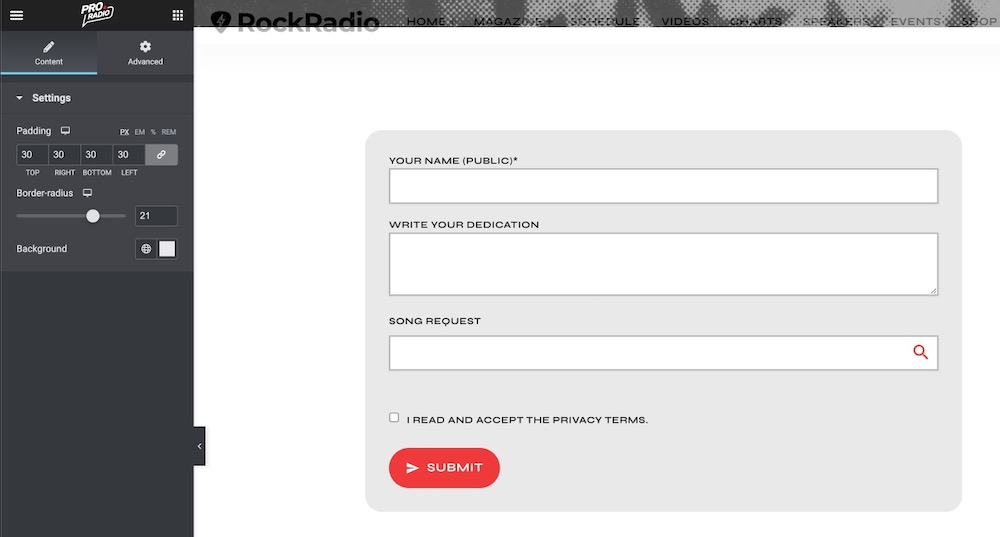
STEP 3: Adjust the appearance of the form
Use the widget settings to modify padding, background and border radius.
STEP 4: Changing required fields
From the WordPress admin menu, click on Dedications > Settings if you want to modify the fields of the form.
More info: please check the Settings chapter of the "dedications plugin" documentation.
STEP 5: Test the form
Save the Elementor page and test the form.
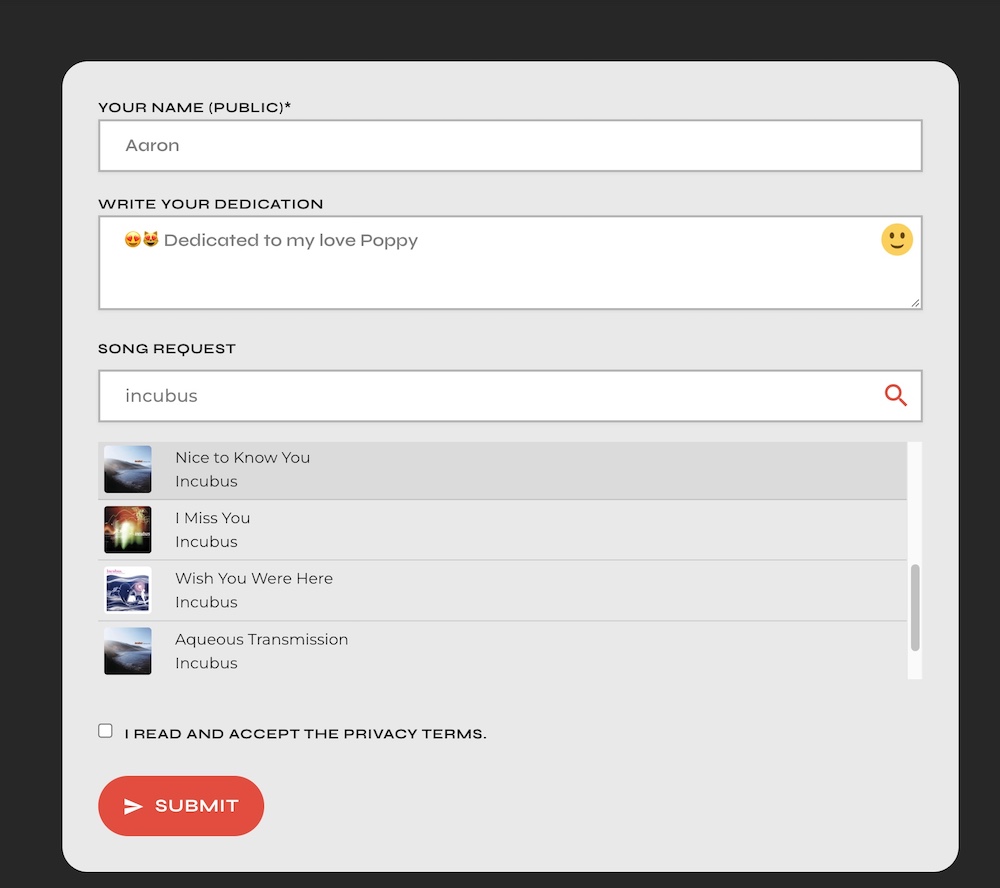
Please remember that submitted dedications are stored in the Dedications post type as "drafts".
You can approve or delete a dedication from your Wp Admin > Dedications.
By default, a user can have 20 pending (draft) dedications, in order to prevent spam. This number can be changed with a "premium" dedications license.
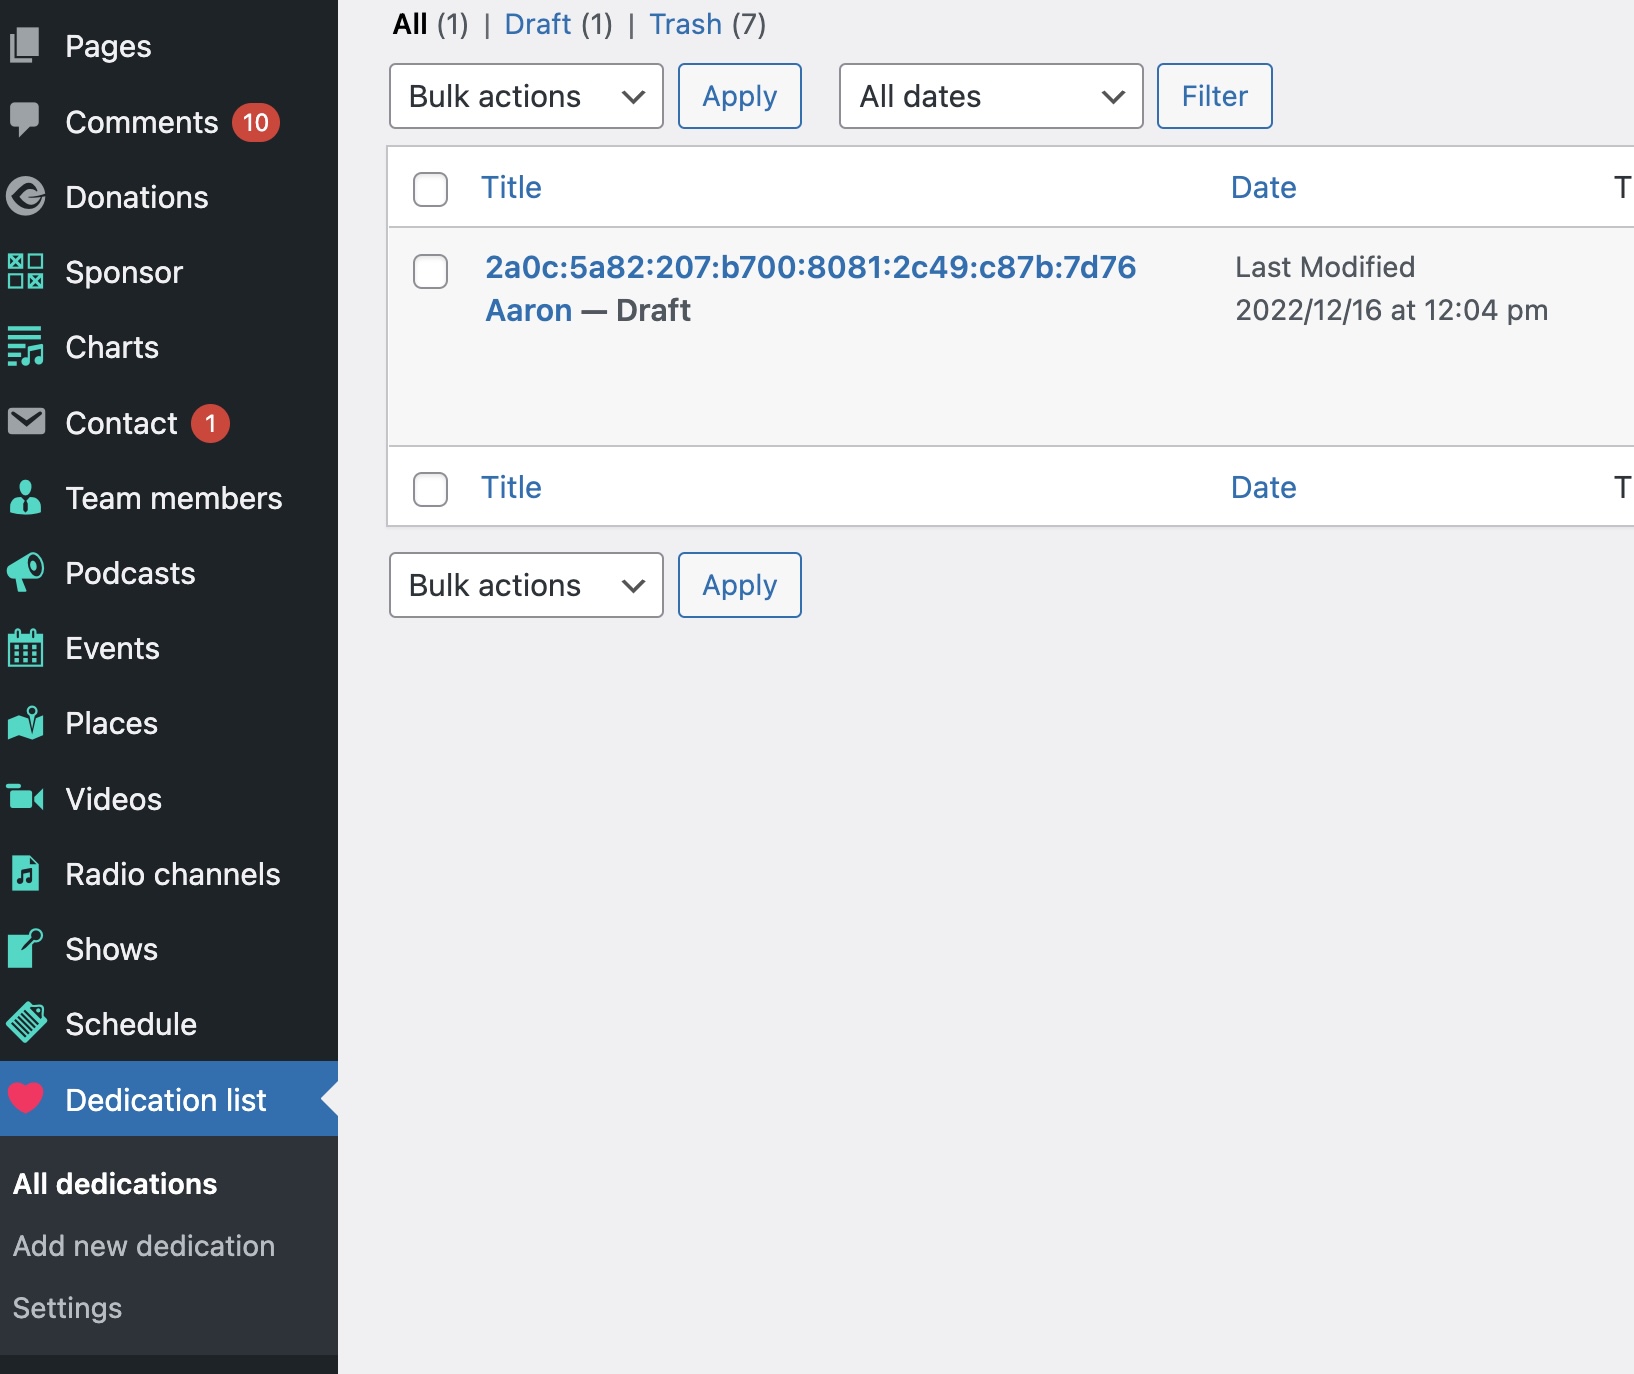
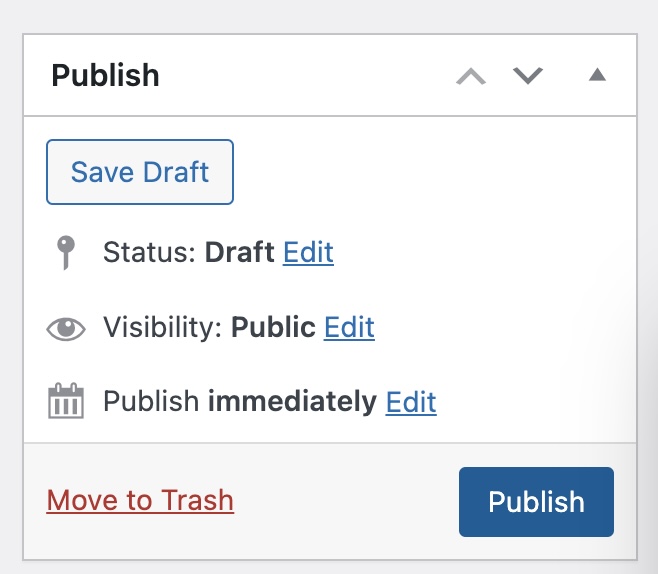
STEP 6: Publishing a dedication
To publish a dedication, edit the dedication from the archive and click "publish".
If you are using the "Premium Dedications" version, you will receive an email notification when the form is submitted, and the user will receive an email notification when the decication is approved.
In the next pages you'll see how to display dedications.