To create a music chart
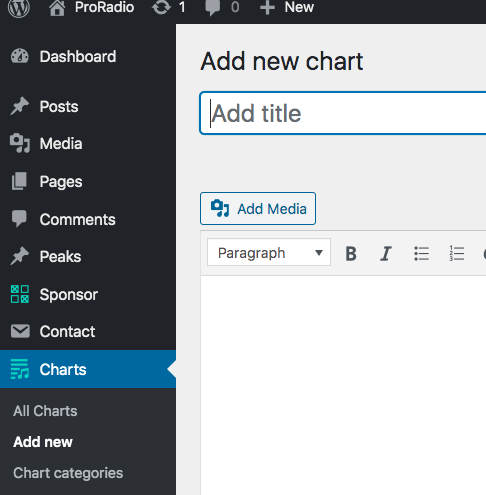
Step 1: In your WordPress admin, click Charts > Add new
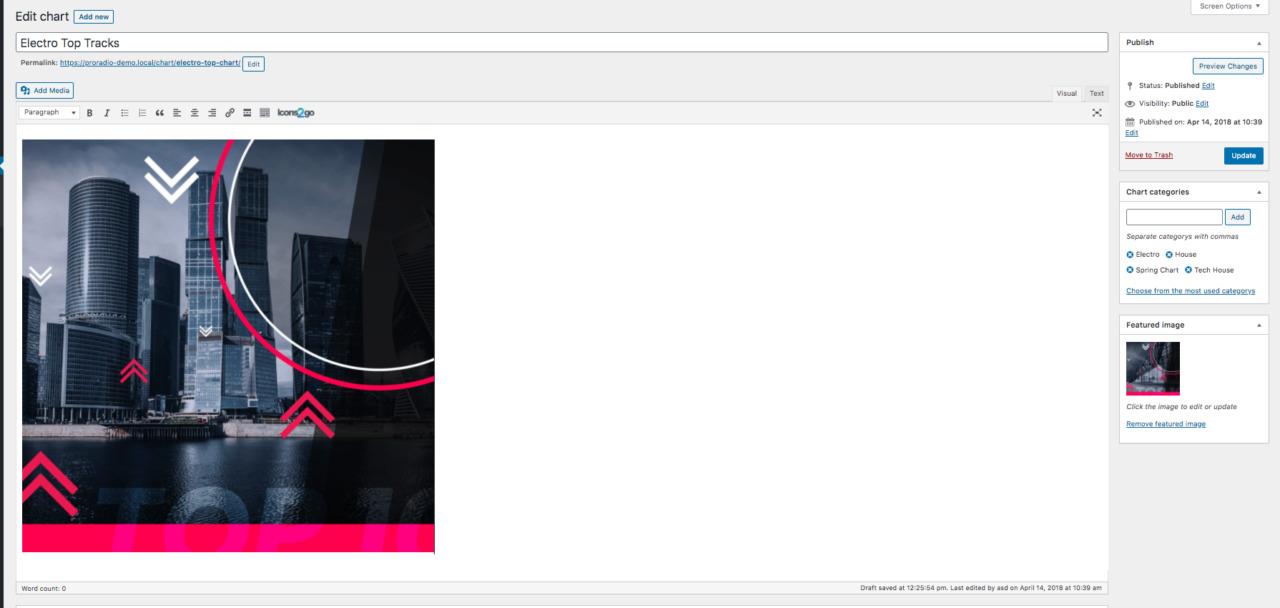
Step 2: Set a title and optionally a text description of the chart
Step 3: set a Featured Image. The industry standard for the Charts covers is a squared picture, but you can use also widescreen images or vertical images. What we recommend is to use an image that is at least 1600 px wide and below 300 Kb.
Avoid using "Banners" or Covers containing text, as the featured image can be used as background for the titles and for the header, so you should not use pictures containing text.
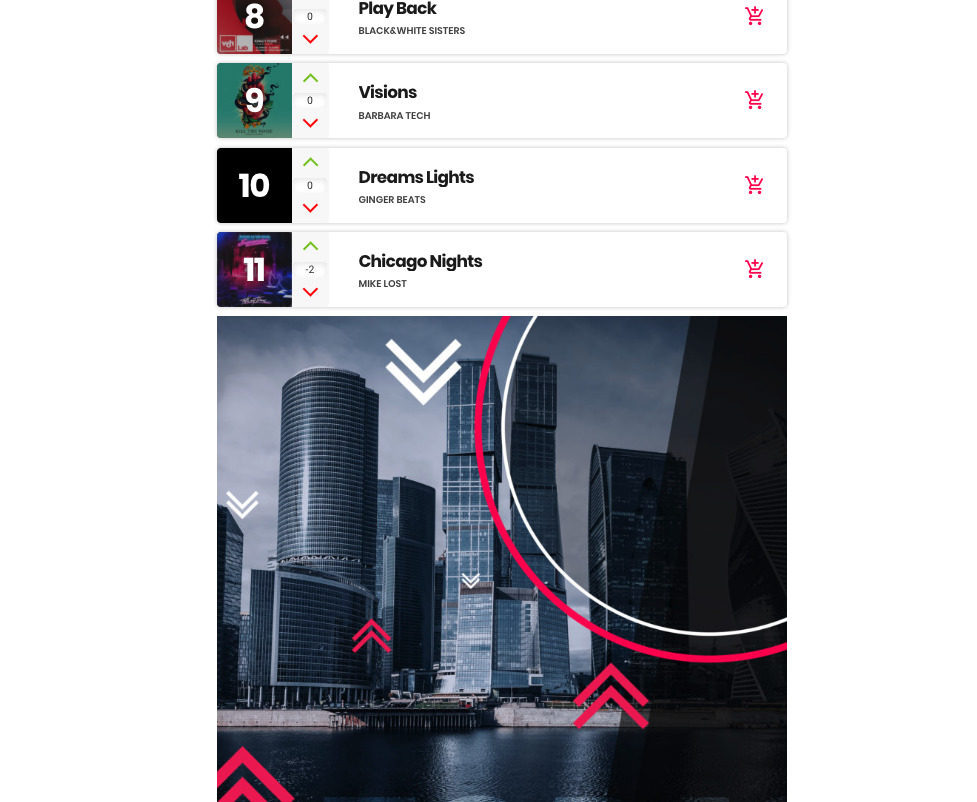
If you have a chart tracklist image cover as well, that you want to display, (a picture with text inside), you can add it to the content of the chart text editor. It will appear below the tracklist. But is not required nor recommended.
Adding tracks to the chart
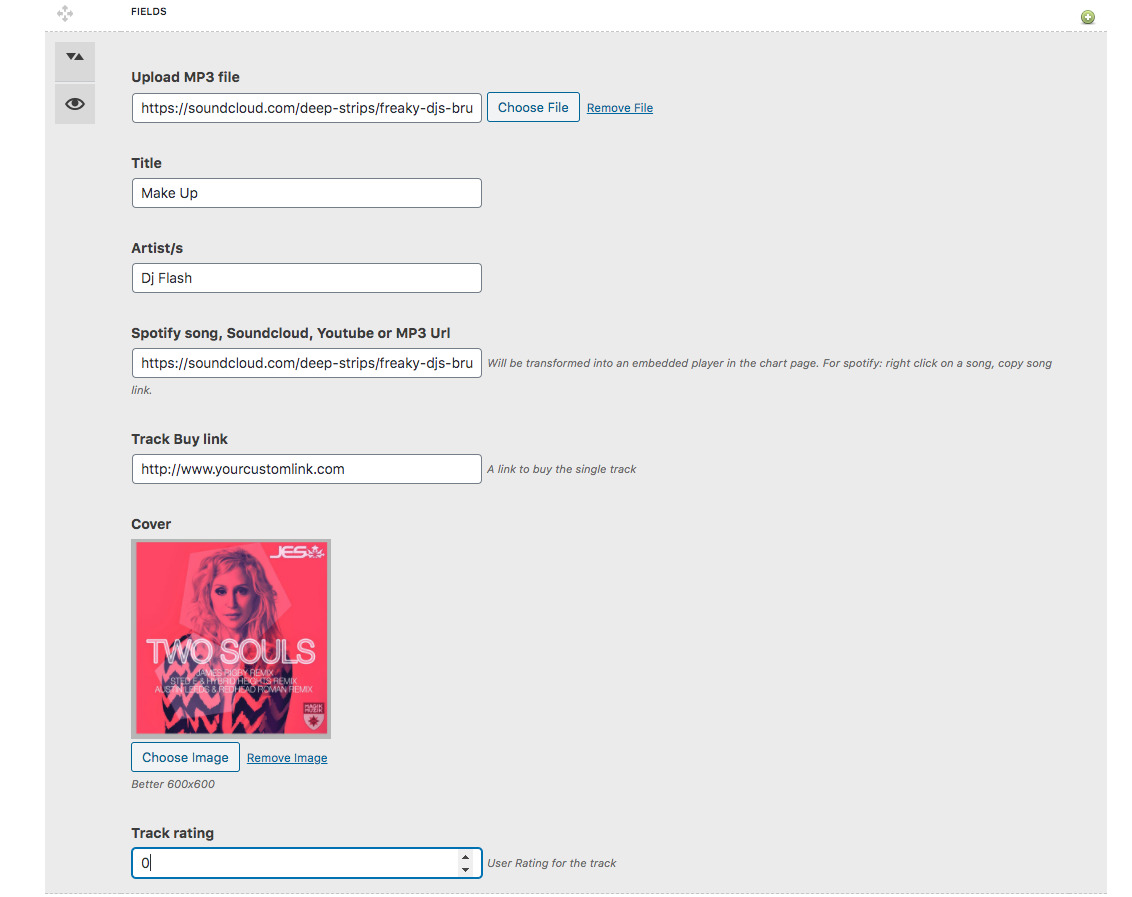
Every song of the tracklist can have 2 types of samples: MP3 or external url. The external url can be Soundcloud, Mixcloud, Youtube or Spotify.
To add a new track, you should start uploading an mp3 sample.
Recommendation
If you upload (or link from an external source) the mp3 sample, your song will play through the featured player bar.
This will interrupt the radio stream, allowing the user to listen only to the chart sample.
If, instead, you use only an external Soundcloud, Youtube or other player, its sound can overlap the radio stream, as the 2 players cannot communicate with each other.
This is why we recommend using an mp3 sample file for your charts, providing to the visitor a seamless listening experience with a fully integrated interactive playlist.
Chart track details
You should now fill up the song title, artist and optionally external links, if you don't have an mp3 sample.
You can set also a "buy link", which is meant to display an icon where your visitor can purchase the original song.
Each chart can as well display a cover, which will be used also in the player.
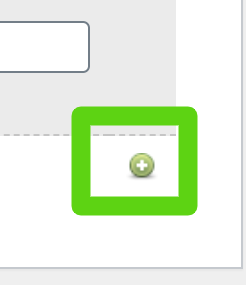
Adding more tracks
Click the + icon to add a new track
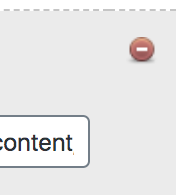
Removing a track
Click the rex - icon to remove a track
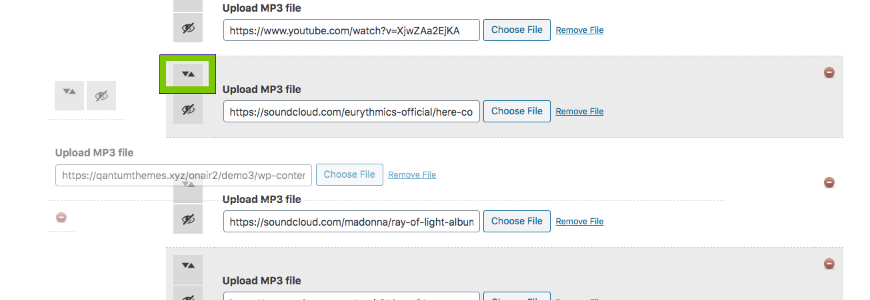
Reordering tracks
Step 1: click the EYE icon to reduce the tracks (close them) so is easier to move them.
Step 2: Drag a track using the Arrows icon
Track rating
This parameter is an integer number, positive or negative, that is used by the Chart Vote plugin.
The chart vote plugin is optional, and will be explained in detail on the next chapter.
You can manually reset the chart votes by altering this parameter manually.
How to disable track rating globally:
To disable the rating functionality please go to Settings > Pro.Radio Chart Settings.
From this page, you can disable completely che chart rating.
Optionally, you can enable or disable the "downvote" button. If disabled, only the upvote will be visible.
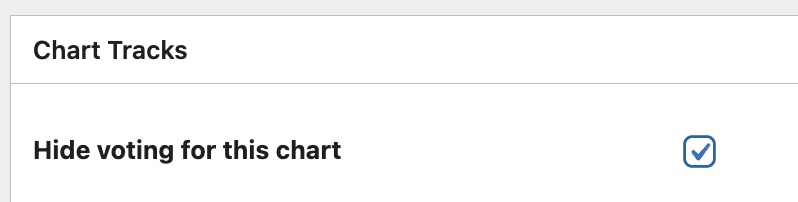
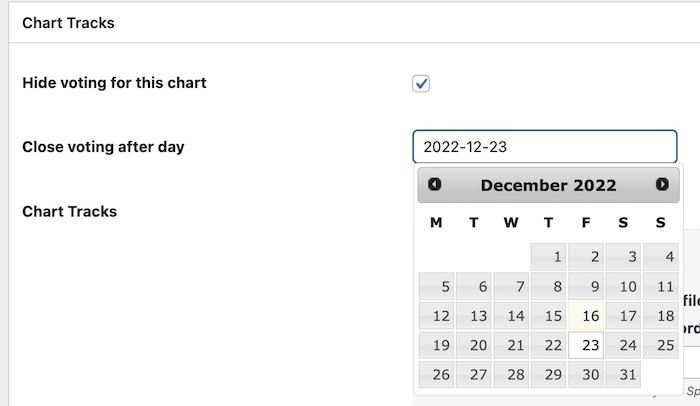
Disable ratings for one single chart
Since Pro Radio version 3.0 you can disable the voting for one specific chart.
- Edit the chart
- Select the checkbox "Hide Voting"
- Save
Close chart voting after a certain date.
Do you want to set a deadline for voting a certain chart?
Since Pro Radio version 3.0 you can set a "chart closing day". After the selected date, ratings will be "frozen" and people can only see the resutls, without the possibility of interacting with the stored raking.
Just pick a date from the calendar, and after such date, the voting will appear disabled.
Automatic song order
Tracks can be automatically reordered depending on the votes. So, the track with most vote will be automatically #1 and so on.
To enable this option please visit Apparance > Customize > Special Contents > Chart Settings.
From this point you can enable "Auto reorder by vote" and choose to have tracks ordered in ascending or descending order.


