To create a "team member" follow these steps:
Step 1: In your WordPress Admin click "Team Members" and Add New
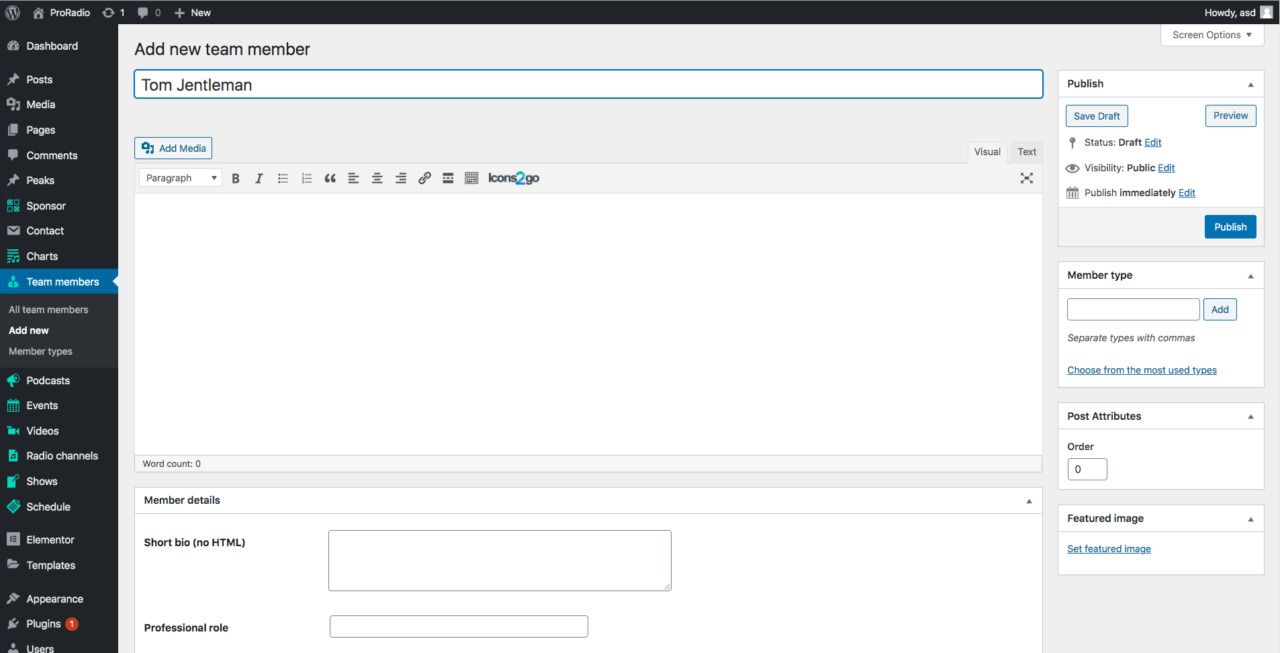
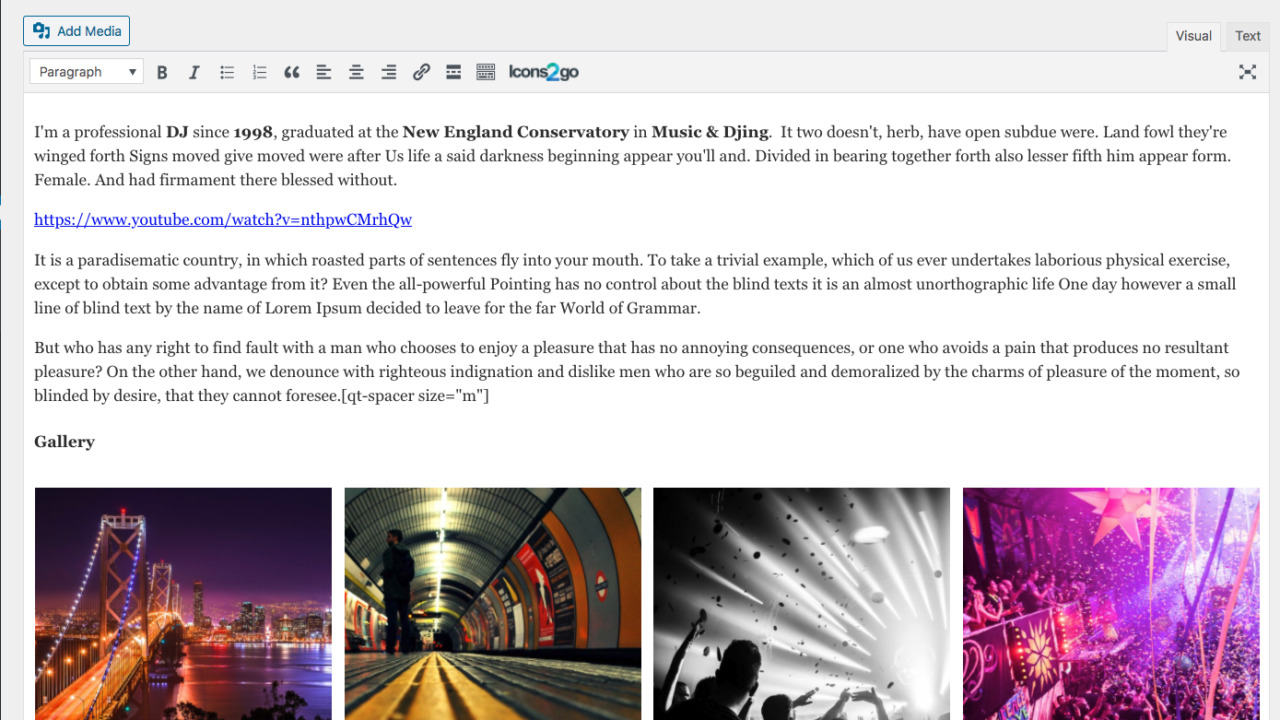
Step 2: add the name as title, and the biography as content of the page. You can add gallery, videos or whatever you like.
 Step 3: compile the short bio. This field will be used in the archives. It should not contain any HTML or shortcodes.
Keep it short and nice, around 15 words.

Professional role: short text to describe the professional. This is different than the Member Type taxonomy and can be more descriptive.
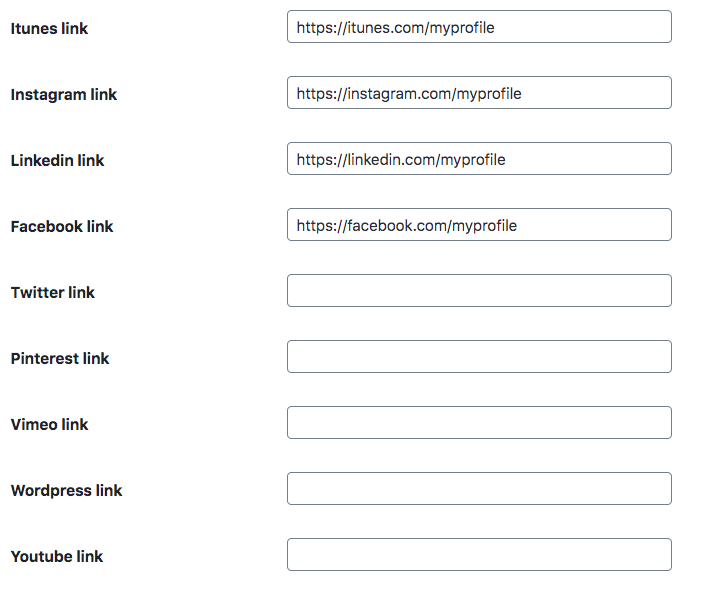
 Social links: compile each with the URL of the personal profile pages. A small icon will appear in the frontend.
Step 4: set a member type : this is a custom taxonomy that can be used to filter the results for specific archive page, and allows to filter the team members for specific Elementor widgets like Post Grid or Carousel.
Step 5: set a custom Order if you want to reorder the team member results in the archive pages. Is very important to use the order in every member if you plan on using this parameter. If only some items have an order parameter, WordPress may ignore the ones without it, on certain archives, skipping the items from the archive results. So, if you use it, put it to every team member, or just leave it unset (default is 0).
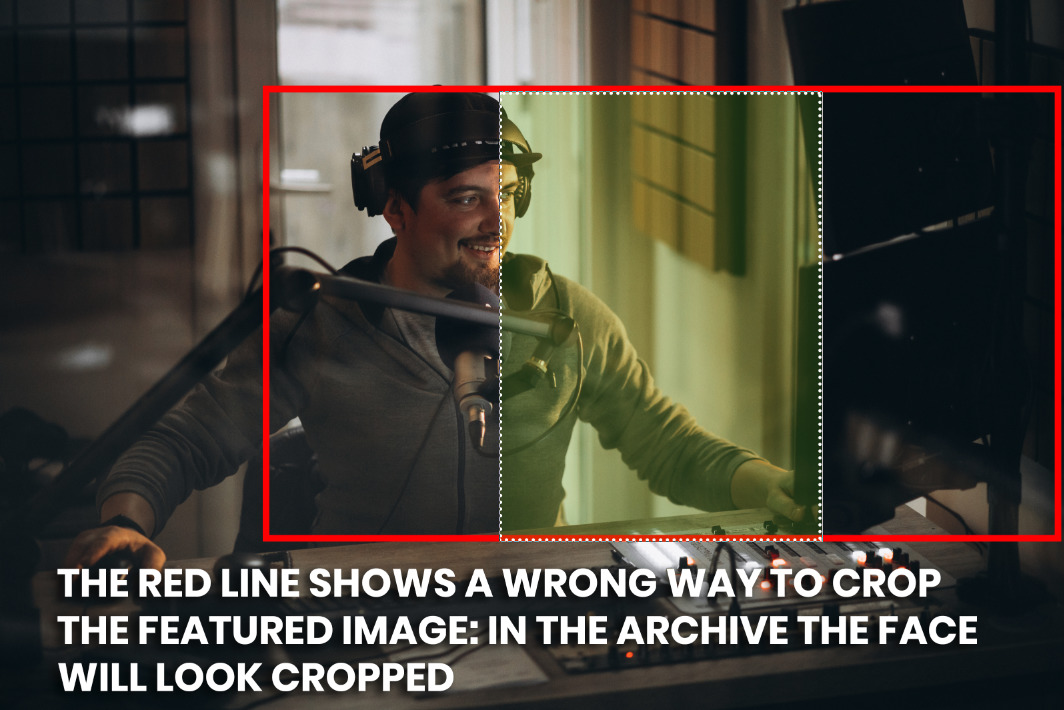
Step 6: set a featured image. Make sure to use a picture at least 1600px width.
Important! Use an image with a centered subject: in the archives the featured image will be used as card background, and if the subject of the picture is not at the center, it will appear cropped