The custom Button widget is different from the Elementor button because:
- Is based on the custom theme styling
- Has more features and possibilities
- Has a custom functionality to play a radio channel
How to add a custom button
Step 1: Edit the page using Elementor
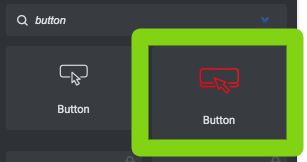
Step 2: look for Button, and drag to the page the featured Button widget from Pro.Radio
Step 3: set the main options:
- Text (just the label for the button)
- Play radio channel: if enabled you get to choose an existing radio channel from your archive 8see Radio Channels in the documentation for more info). If disabled, you get to add a custom URL.
- Button link: add an absolute URL (like http://something.com) or a relative URL (#something, where "something" is the ID of a section)
- Button target: available for standard functionality, not for radio channels: choose to optionally open the link in a new tab of the browser.
- Style: this dropdown is based on the Pro.Radio them styles, to quickly set a design aligned with the global design settings. You'll be able to override the default styling in the next part.
- Alignment: if you want to create a row with 2 buttons in the same row aligned together, make sure to set it as DEFAULT. Then in the Advanced tab, set the Width to Inline (auto).

- Design: set a custom size, padding and border radios. Make sure to use the Responsivity options to display the button correctly across every screen size.
- Colors: set custom colors and border. The border width is available in different sizes for any different screen size, using the responsivity options
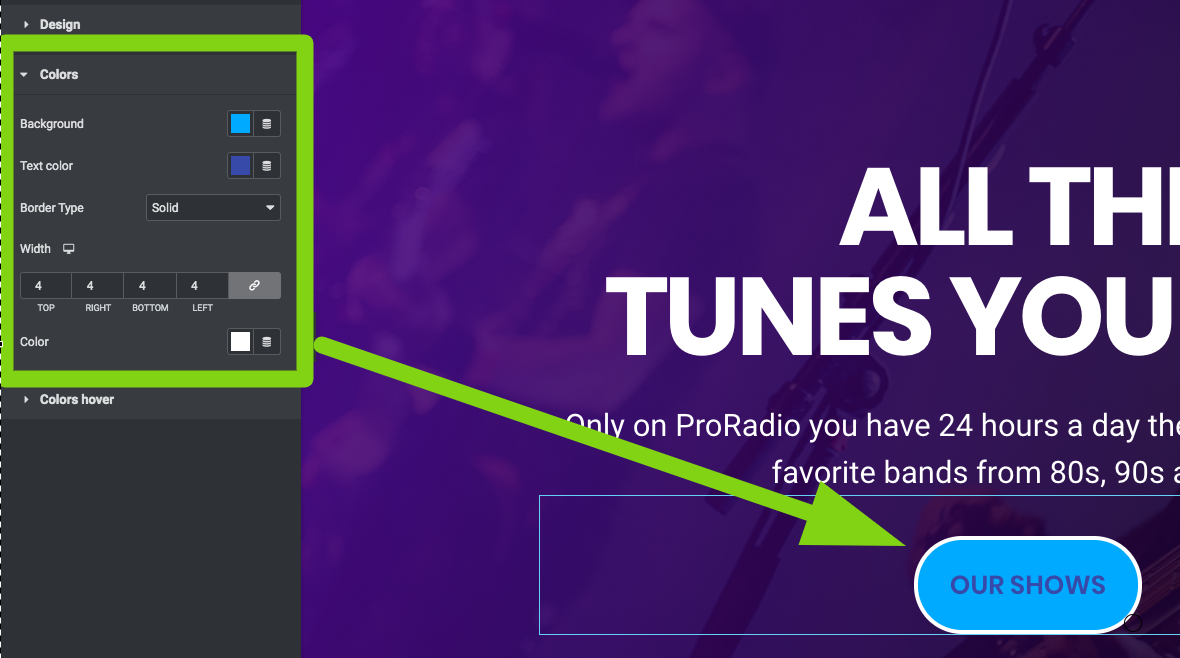
Colors "hover"
Define the appearance of the button with mouse over. This will affect only the desktop experience.


