- arrow_back Home
- keyboard_arrow_right Web Radio Tutorials
Customizing the Radio Show Schedule with the Elementor Widget [Pro Radio WordPress Theme Tutorial]
Web Radio Tutorials 22 364 Pro Radio WordPress Theme January 3, 2025
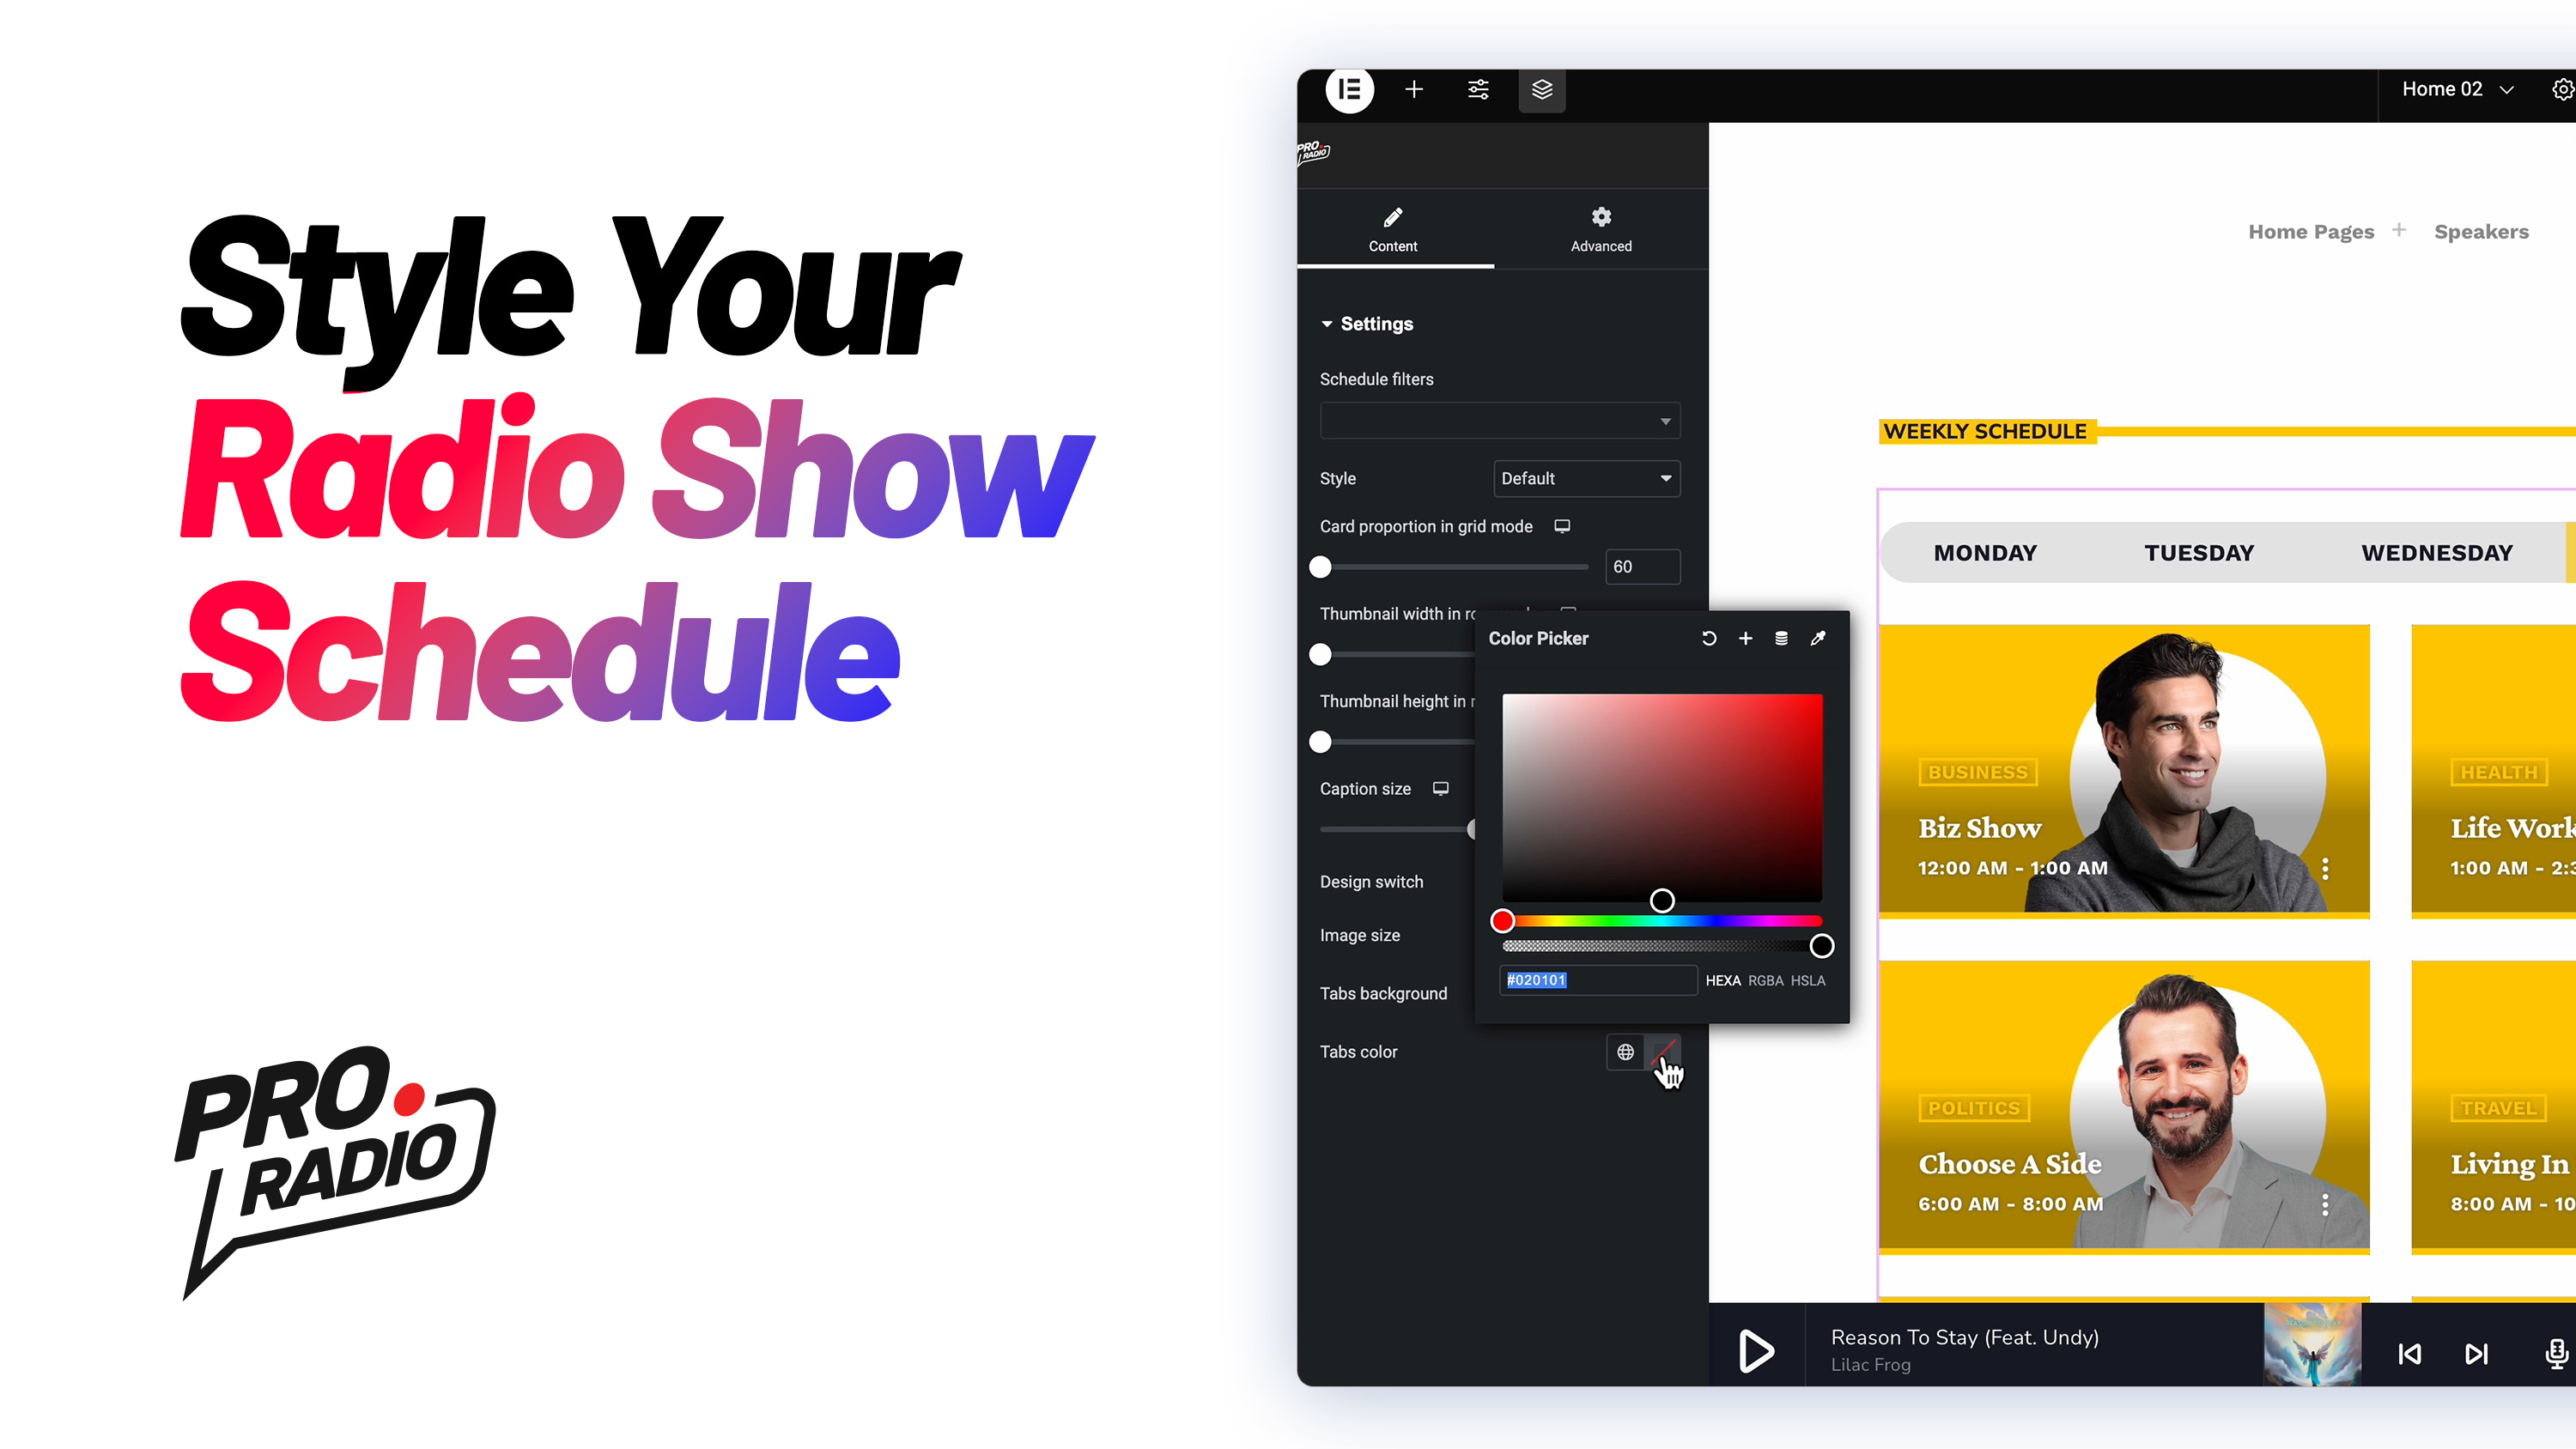
Learn how to personalize the Radio Show Schedule in the Pro Radio WordPress Theme using Elementor. Follow these steps to achieve a design that suits your style and needs:
Step 1: Open the Schedule Widget
- Navigate to your page and click Edit with Elementor.
- Scroll down to locate the Schedule section.
- Right-click the schedule and select Edit Schedule.
Step 2: Adjust the Widget Options
In the options panel, you’ll find various customization settings:
- Card Proportions in Grid Mode: Adjust for responsive display across different screen sizes.
- Caption Size: Modify text size for longer show titles.
- Image Size: Choose a balance between image quality and faster loading times.
- Tabs Background and Text Colors: Ensure good contrast for readability.
Step 3: Switch to Row Mode
- Change the style to Rows for a different layout.
- Adjust Thumbnail Width and Height to fit your desired look.
Step 4: Enable Design Switch
- Toggle the Design Switch option to allow users to choose between different layouts. A button will appear next to the days for easy switching.
Step 5: Publish and Preview
- Save your changes by clicking Publish.
- Use the View Page button to preview the front-end results.
With these customisation options, you can create a visually appealing and user-friendly schedule for your radio station website.
Amplify Your Station with Pro Radio!
Want to take your station’s online presence to the next level? Combine the vibrant TuneTop templates with Pro Radio, the ultimate WordPress theme designed for modern radio stations:
- All-in-One Radio Website: Pre-built layouts and powerful features make launching your station’s site a breeze.
- Pro Radio WordPress Theme: Fully customizable with advanced tools to create a website that truly represents your station’s unique vibe.
Stand out on-air and dominate online with this unbeatable duo!
Free radio templates and discounts
Subscribe now to our newsletter and get these templates right to your inbox, and also, get access to more downloadable content and tutorials!
You may also like
Copyright 2019-2026 ProRadio® Qantum Themes SL® All Rights Reserved


