- arrow_back Home
- keyboard_arrow_right Web Radio Tutorials
How to Create a Radio Station Player with Elementor [Radio WordPress Theme]
Web Radio Tutorials 15 300 Pro Radio WordPress Theme December 3, 2025
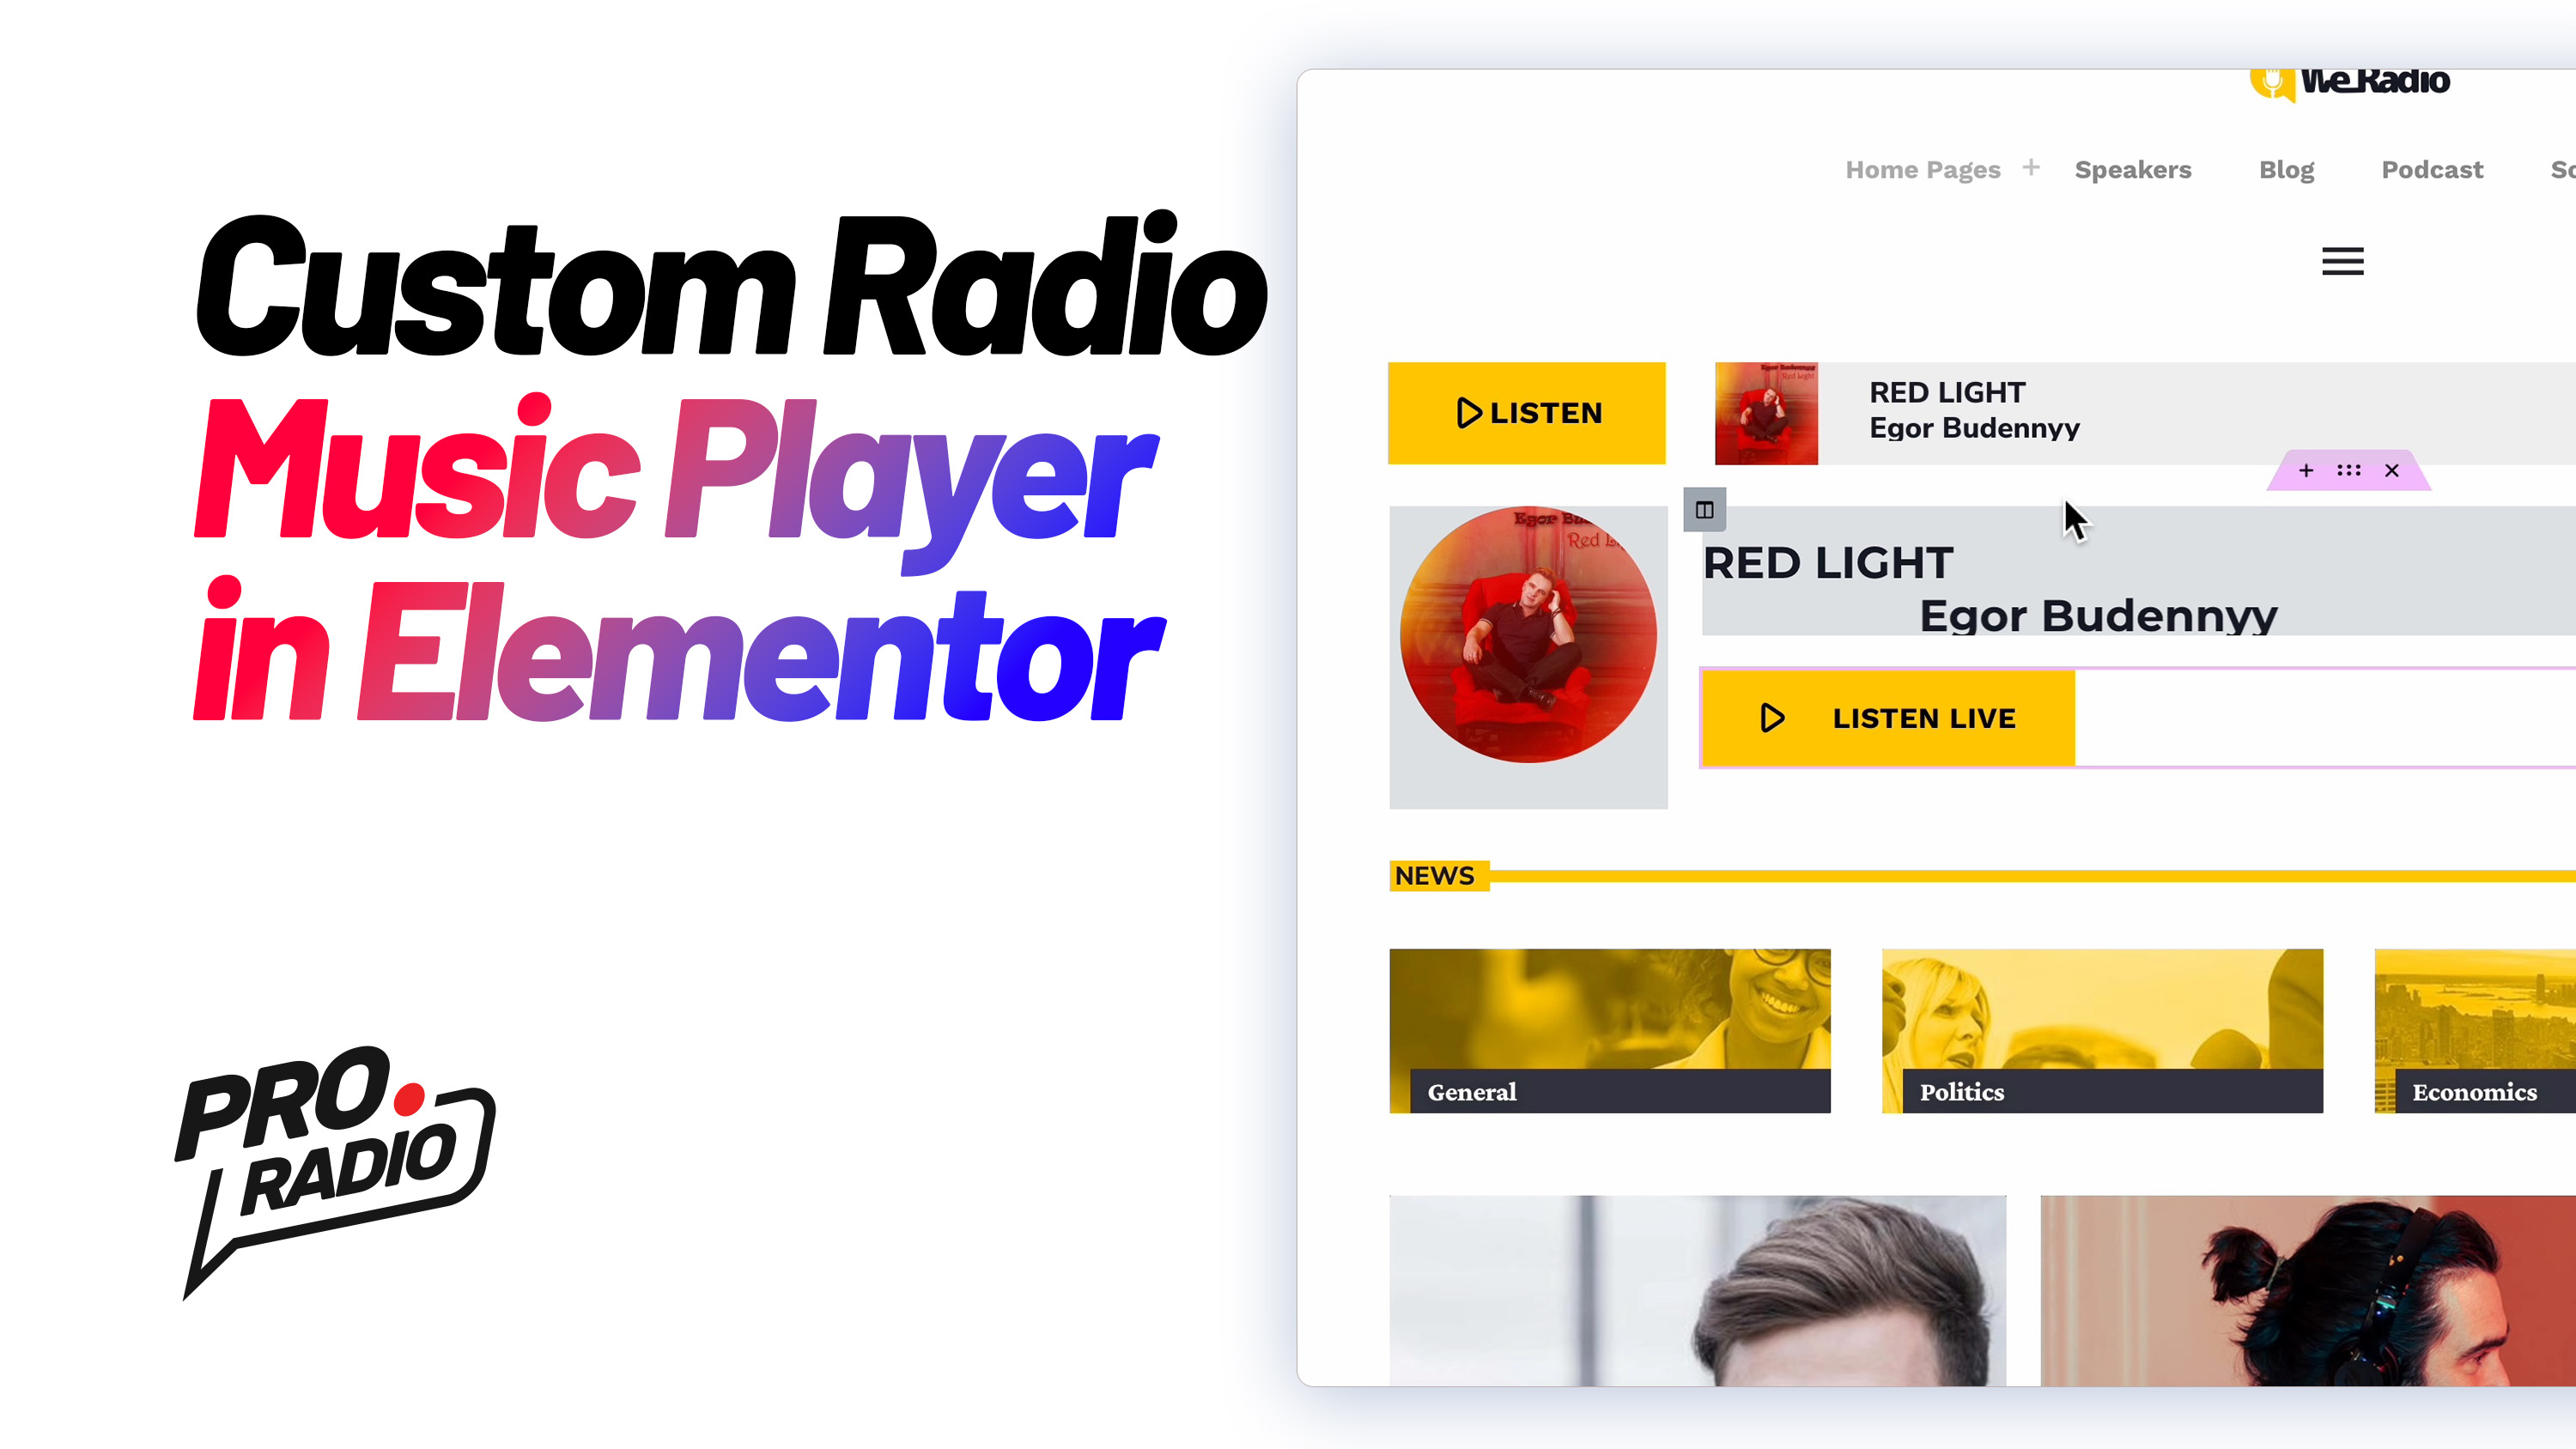
In this tutorial, we’ll show you how to build a custom radio player from scratch using Elementor and the Pro Radio WordPress theme. Instead of relying on the default custom player widget, we’ll create a fully customized player for your radio station website. This includes the current song title, artwork, and a button to play the radio stream. Let’s dive into the process!
Step 1: Analyze the Default Player Structure
First, let’s take a look at how the default player in one of the Pro Radio demo templates is structured:
- Section: The player is built using a section with three columns:
- Button Column (where the play button is located).
- Song Column (displays the current song title and artwork).
- Show Column (displays the current radio show).
To make things easier, we can rename the columns for better clarity:
- Button Column (contains the play button).
- Song Column (displays song information).
- Show Column (displays current radio show details).
Step 2: Customize the Play Button
- Button Widget: In the Button Column, we will use a special button that’s part of the Pro Radio theme. The button is red by default and has unique functionality – it plays a specific radio stream when clicked.
- Customize the Button:
- Play Radio Channel: You can enable the button to play a specific radio channel. You can choose a default channel or select a custom one.
- Button Styling: Customize the button’s appearance, including text size, padding, and color.
This button will be the centerpiece of your player, allowing users to play the station stream.
Step 3: Display Song Information and Current Show
In the Song Column, we want to display the current song title and song artwork. Here’s how to set it up:
- Song Information: The player widget automatically populates the current song title and artwork. You just need to enable these options in the widget settings.
- Enable Song Title and Song Thumbnail.
- Display Current Show: Clone the widget and use it to display the current radio show details.
- Ensure consistency in the design between the song information and the current show by adjusting the text content and image size.
- Image Size: Choose a small thumbnail size to keep the player compact.
- You can also adjust the typography for the title, including font family (e.g., Montserrat) and font weight (e.g., bold).
Step 4: Create a Custom Player from Scratch
Now that we’ve analyzed the default player, let’s build our own custom player from scratch using Elementor:
- Create a New Section: Start by adding a two-column section.
- Left Column: In this column, place the Current Song Artwork using the specific widget that displays the radio station’s artwork.
- Alignment: Align the artwork to the left.
- Image Size: Resize the image to 150px to fit well in the layout. You can adjust the column width as needed.
- Right Column: In this column, add Radio Feeds like the song title and play button.
- Song Title: Place the Song Title widget on the left side of the column.
- Now Playing Text: You can hide or remove the “Now Playing” text if you prefer to only show the song title.
- Left Column: In this column, place the Current Song Artwork using the specific widget that displays the radio station’s artwork.
Step 5: Customize the Play Button
Now we’ll create a play button similar to the one in the default player:
- Create the Button: Add a new Button widget in the right column.
- Customize Button:
- Set the button to Play Radio Channel and choose the primary style (which will inherit colors from the theme customizer).
- Adjust padding to match the height of the artwork in the left column.
- Border Radius: Remove the border radius to create a square button or adjust it for rounded corners.
- Hover Effects: You can tweak the button’s hover effect (e.g., change the hover color to yellow).
Step 6: Make the Player Responsive
It’s essential to ensure the player looks great on all screen sizes. Let’s adjust it for mobile and tablet devices:
- Desktop Layout: Start by checking how the player looks on a desktop.
- Resize the left column (song artwork) to 150px and adjust the right column to accommodate the song title and button.
- You can also adjust font sizes to fit the design better.
- Tablet Layout: On tablet devices, reduce the column width to 75% for the left column and 25% for the right column to make the artwork slightly larger.
- Mobile Layout: On mobile devices, you can set a different border radius for the image or button, ensuring it looks good on smaller screens.
Step 7: Fine-Tuning and Alignment
To achieve perfect alignment:
- Vertical Alignment: If you notice the text or button is misaligned, use a negative margin to adjust it. For instance, you might need to adjust the margin for the title widget.
- Line Height: If the title is misaligned due to line height, adjust the line height setting in the Title Widget to ensure consistent spacing.
Step 8: Save and Preview the Custom Player
Once you are happy with the design, click Publish and check the front-end of your site to see the custom player in action.
- Test Responsiveness: Ensure that the player adjusts well to different screen sizes and devices.
- Check Functionality: Make sure the play button works correctly and that the current song title and artwork display as expected.
Conclusion
You’ve now created a custom radio station player from scratch using Elementor and the Pro Radio WordPress theme! With the flexibility of Elementor, you can easily adjust the design, layout, and functionality to match your radio station’s branding. Don’t forget to check your player on multiple devices to ensure it looks great everywhere.
You may also like
Copyright 2019-2026 ProRadio® Qantum Themes SL® All Rights Reserved


