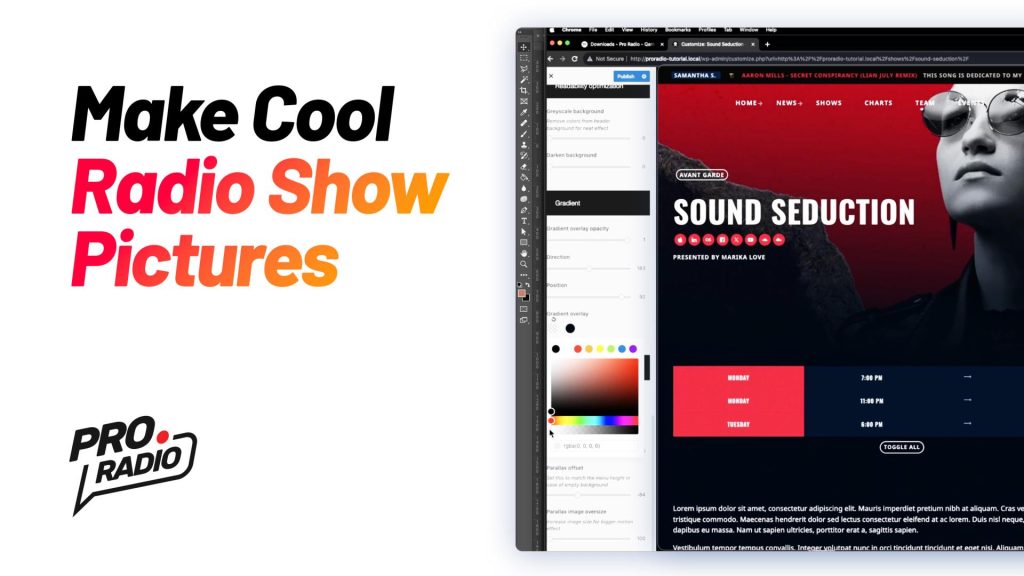
Hello everybody and welcome to this cool step-by-step tutorial for your radio station website! I’m going to teach you how to make a custom picture to replace the default show image in the Pro Radio WordPress theme.
If you skipped the previous tutorial to make a professional color palette based on the colors of your radio station’s logo, you’re on time to find it here.
With Pro Radio WordPress Theme, you can download for free the Photoshop templates in style with each of the included demo websites. Just head to the download section and choose the pack corresponding to your demo. All demos are available for Pro Radio WordPress and also for the All in One Radio Website – our pre-installed solution available here.
Transcript
To create the new picture, visit Pro Radio downloads to and choose the Photoshop templates for your desired specific demo installed on your website.
In this example, we are going to use the one for the radio shows for the demo 17. So, let’s open the file. It may look like this. The blue layer is made to make the file size smaller. Just delete this file and then look for the layer named “place your image here.”
If you don’t have Photoshop, you can achieve the exact same result for free using Photopea.
This is where we are going to put our model. Let’s suppose this is your picture. This is one of your speakers or DJs. Using the automatic selection tool, choose the cloud method, which is more precise. Select the subject. At this point, let’s just copy the subject, go to the complex image, and paste it. Of course, resize the subject to let it fit in the space. Save the complex object, close it, and this is the result. The styling applied to the picture matches with the original image from our demo.
At this point, just export the image. Let’s call it “my picture.” Go to your website, edit the radio show, and upload the picture. Set it as the featured image, update, and let’s check the result. As you can see, we obtained the perfect result we wanted to have. If you want to change the styling, for instance, the color of the header is not matching with our new background, let’s click “customize layout and design page,” headers, and edit the colors.
If you want to change the background of the timetable, you can go to the special contents schedule settings and change this background. Now, our brand colors are almost there, but we also want to change the background color to fit with our custom palette. Let’s go back to our Photoshop page, select the background, and pick our custom color.
And here we go. Export the image and update. If something was saved as a dark color, go back and make sure this is correctly applied. As you can see, in just a few minutes, we were able to go from the original colors and picture to our perfectly branded image, creating a very strong and powerful online presence for our radio station website, all without extra cost and with just a couple of clicks. Thank you for watching, and see you at the next video.
Make your own radio station
To start a radio station, you need a powerful online presence, a professional design and a captivating appearance. But no worries, nowadays this won’t require to hire an agency or a programmer: with Pro Radio all of this is possible with a few clicks. Pro Radio is the complete solution for a fully functional radio station website including player, shows, weekly schedule, events and more!
And today is available in 2 solutions:
- Pro Radio WordPress Theme: including all plugins and demos, ready to be isntalled on your own hosting
- All in One Radio Website: a fully fledged radio website pre-intalled on your chosen domain with full cPanel hosting
No excluse for an ugly radio website, choose the demo you like and make all of your social pages in style with the bundled and free templates for your radio!
Now, the results that were once exclusive to agencies requiring substantial investments are achievable at a fraction of the cost. Spread the word, amplify the impact, and launch your radio presence without breaking the bank! Get your station on air today and witness the power of professional branding at an affordable price!


![How to Hide an Unwanted Category in the Category Grid Widget for Elementor [Pro Radio WordPress Theme Tutorial]](https://pro.radio/wp-content/uploads/2024/12/tutorial-elementor-remove-category-1024x576.jpg)